I've been looking at hihat controllers like the go e-drum, and to me, they seem to lack that feeling of the bottom hihat cymbal against the top one. I was wondering if I could create my own hihat controller that would allow for a bottom cymbal that you could tilt like you would an acoustic one, but I wasn't sure how a bottom cymbal would react with my surge hihat. I came up with the idea of using a large PVC pipe cap to replicate that feeling, and it works. I also transplanted the guts of my realhat controller unto the hihat stand.
Hihat controller:
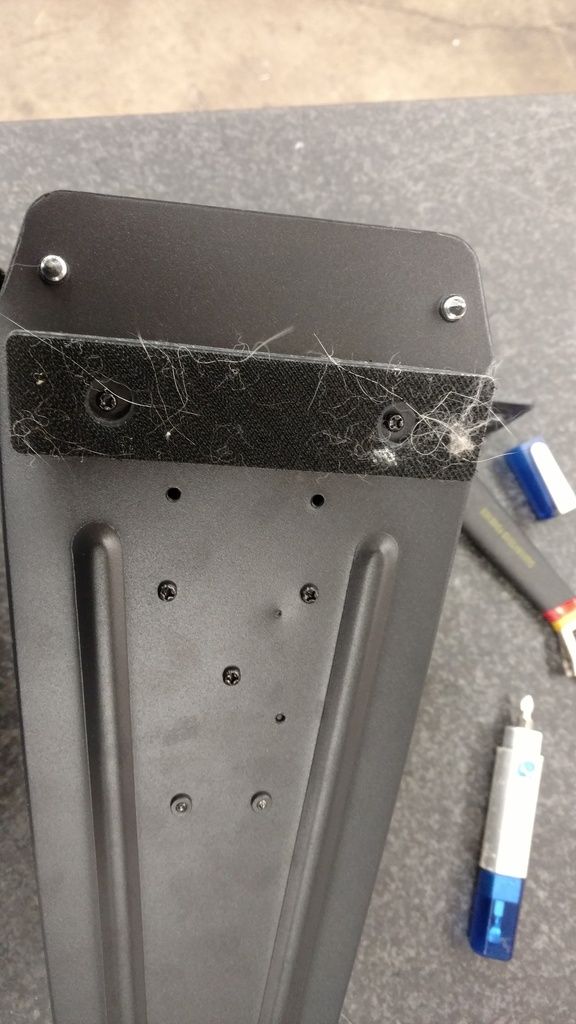
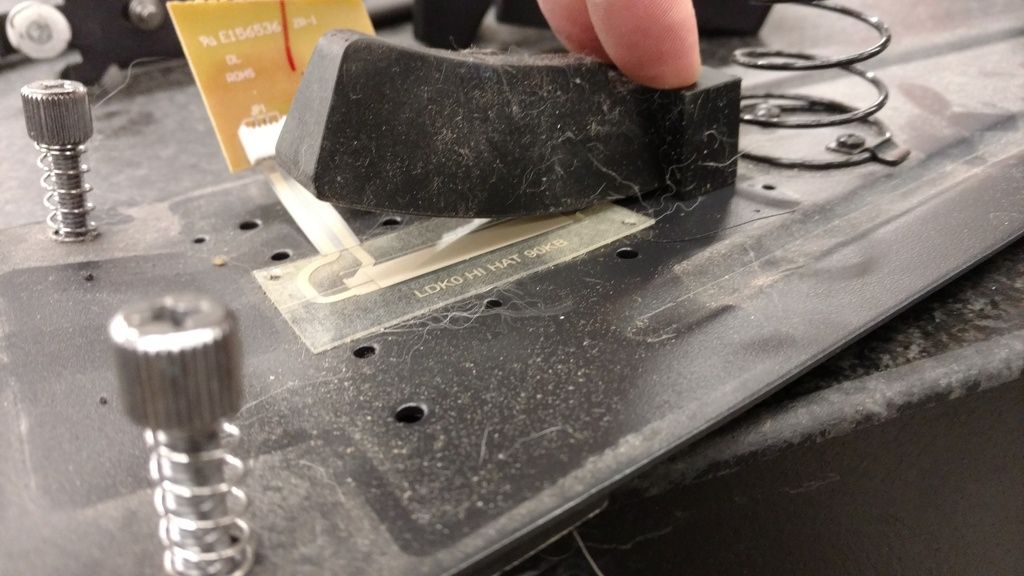
First things first, I took apart the realhat pedal, the Crimson kit I just acquired has no velcro over the two screws that sit under the velcro strip on older models.
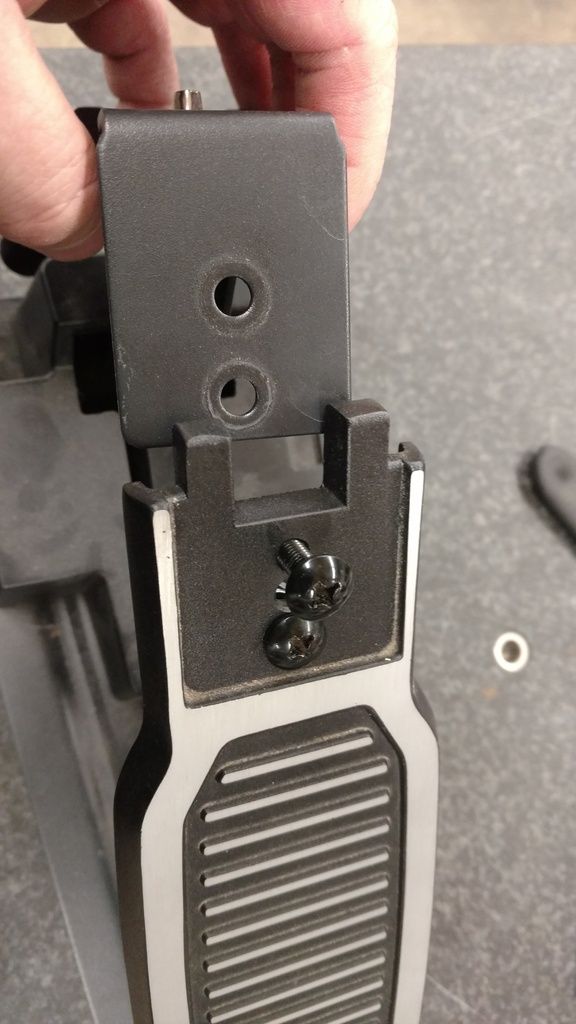
I also removed the actuator from the pedal.
This is what the insides look like. (excuse the hair, the previous owner's wife is a dog sledder.)
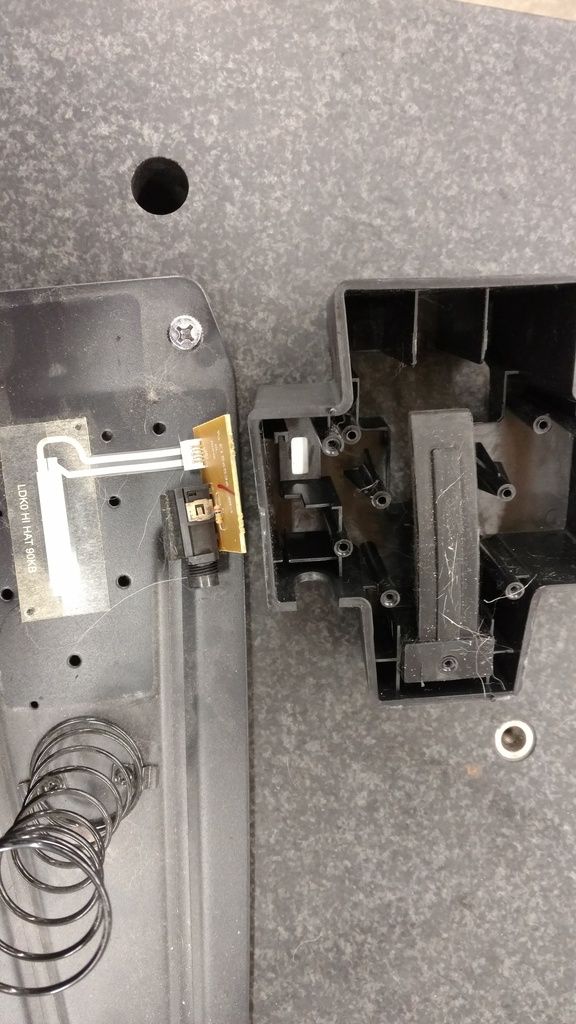
The rubber piece just pulls off that plastic post.
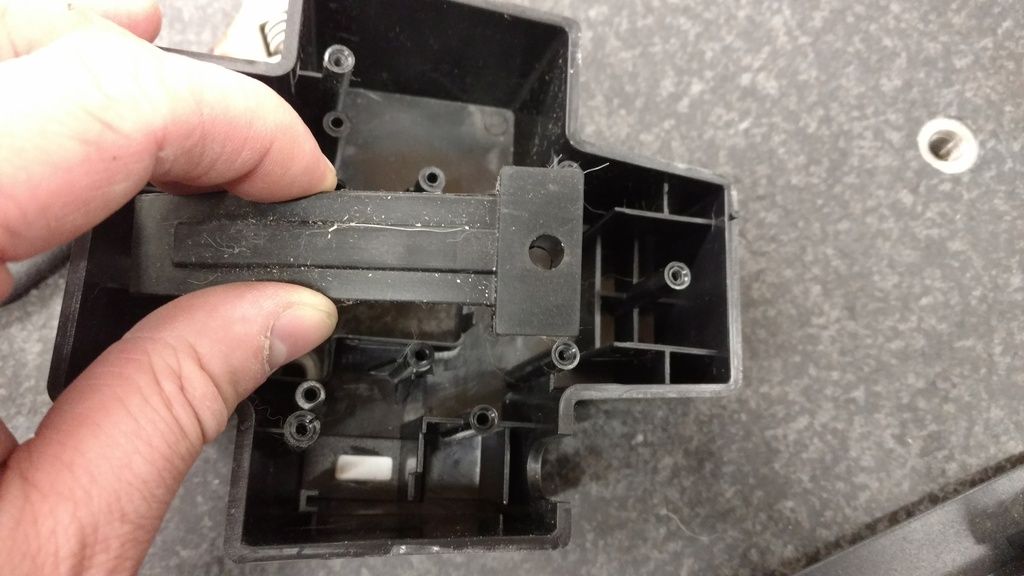
This is how the rubber piece sits over the variable resister, as the pedal is depressed, it pushes down on the rubber and more of the rubber comes in contact with the resister, essentially reducing it's resistance.
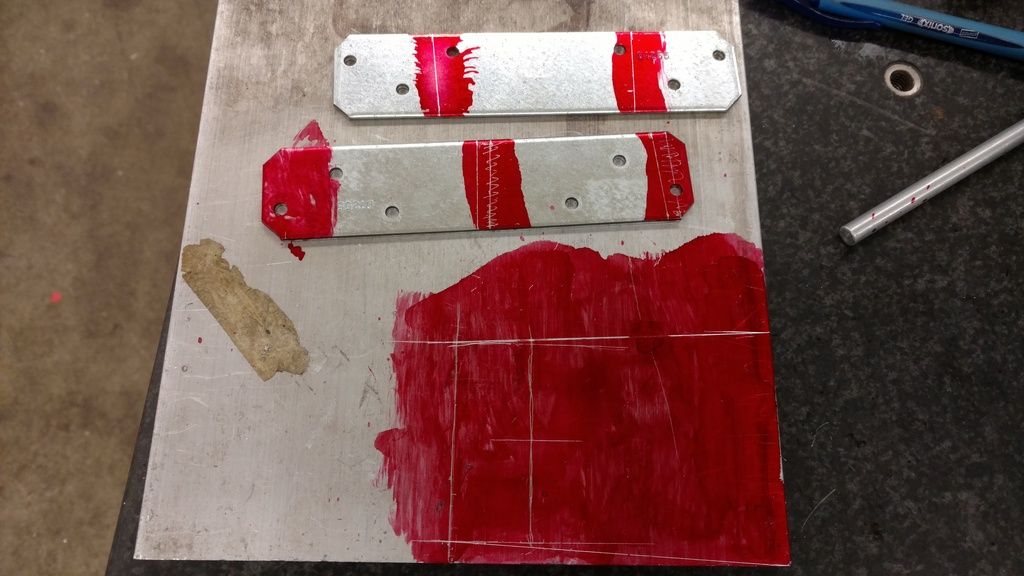
So now I needed to make a base for the resister and rubber to sit on. I used some 1/4" aluminum plate, and some cheap steel straps I found at Home Depot for clamps. These were under 1/8" and fit well under the hihat stand pedal base. I used Dykem, math, a straight edge, calipers, and a scribe to lay out my cuts. Pro tip, marking the location for the rubber piece's through hole is much easier when your plate is still semi square. By the way, you can use permanent marker, a ruler, and a sharp center punch to mark your cut lines in a pinch.
I didn't get any pictures of this part unfortunately. I cut the top plate, and the bottom straps out on a band saw, you can use a cut off wheel or even a hack saw in a pinch. I used a belt sander to remove the saw marks, but you can used a file, sandpaper, or just leave it as it. I drilled and tapped a 1/4-20 hole for the rubber piece attachment point. I then used a 1/4" ID fender washer and 1 1/4" long bolt to attach it to the plate, center it, and mark where the resister would go. I also marked the edges of the rubber part and attached modified corner brackets in place to keep the rubber piece from rotating, and to guide the moving end straight down so it wouldn't move off to one side or another should the pedal move sideways. I drilled and tapped the corner bracket locations for 6-32 bolts to eliminate the need to monkey around with nuts while trying to keep the brackets from rotating. I realized the locations of the bracket bolts was perfect for the clamp straps as well, so using the aluminum plate as a template, I drilled holes in the strap clamps. I them chamfered the bottom side of them to accept the heads of the 6-32 bolts so they wouldn't stick out underneath as I had no room for them to do so. Since this was a slight modification from my original design intent, I improvised and attacked the angle brackets in place with lock washers and nuts. I places two washers under the guide brackets at the front of the assembly for resister lead clearance. I then used strong, double sided scotch tape (not the foam kind) to attach the resister in place below the rubber piece.
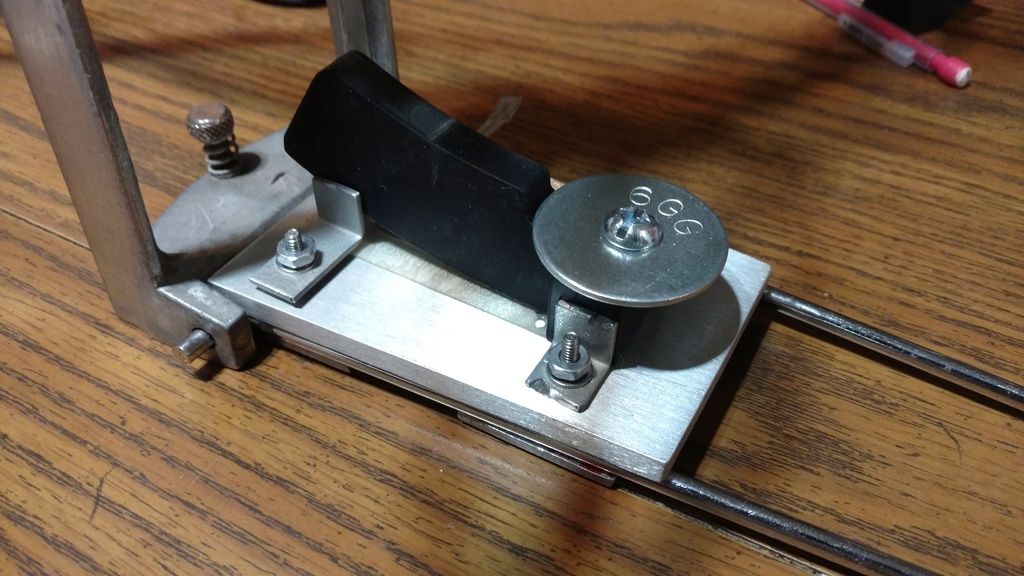
I got lucky. My highhat pedal has a lug to stop your foot from going too high up the pedal, the hole used to attach the lug happened to be in the perfect location to attach a plastic spacer that would press down on the rubber actuator.

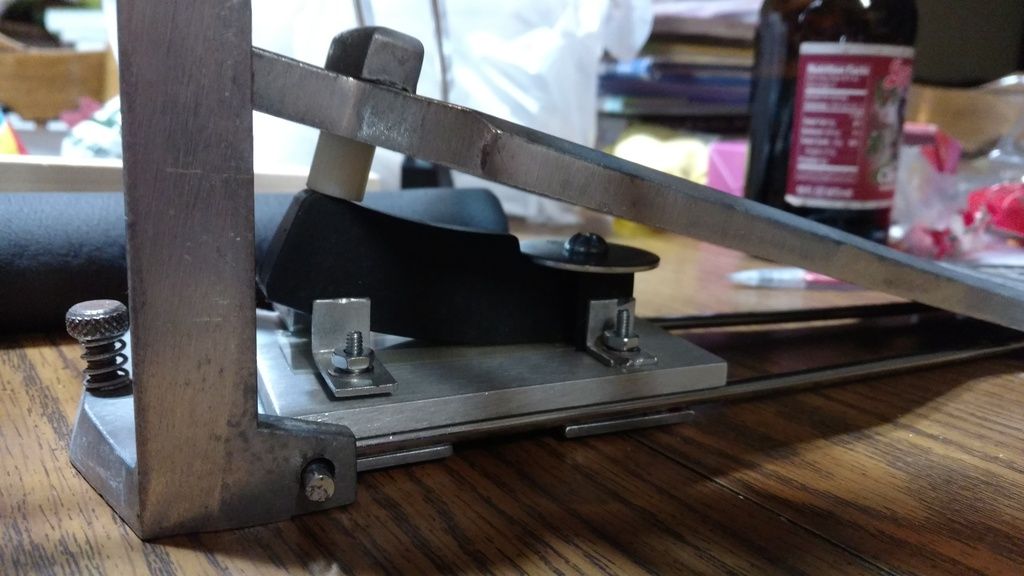
Here's the entire assembly in place.
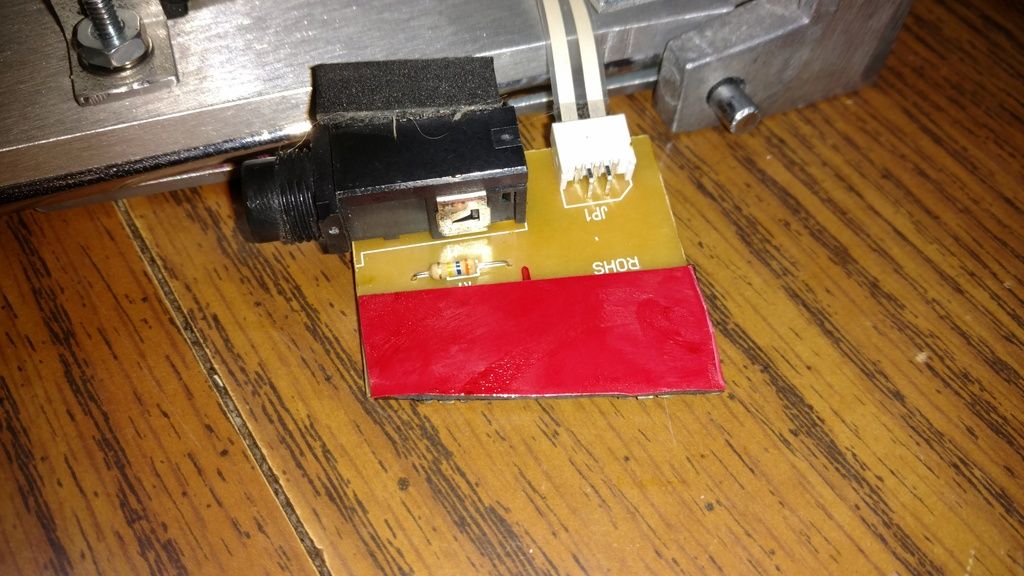
I still didn't have a good way to attach the circuit board, and didn't want cut it down because I want to be able to put everything back into the realhat pedal, and the realhat pedal used the circuit board shape to keep it in place. (you can cut it down to right above the resister if this isn't a concern to you.
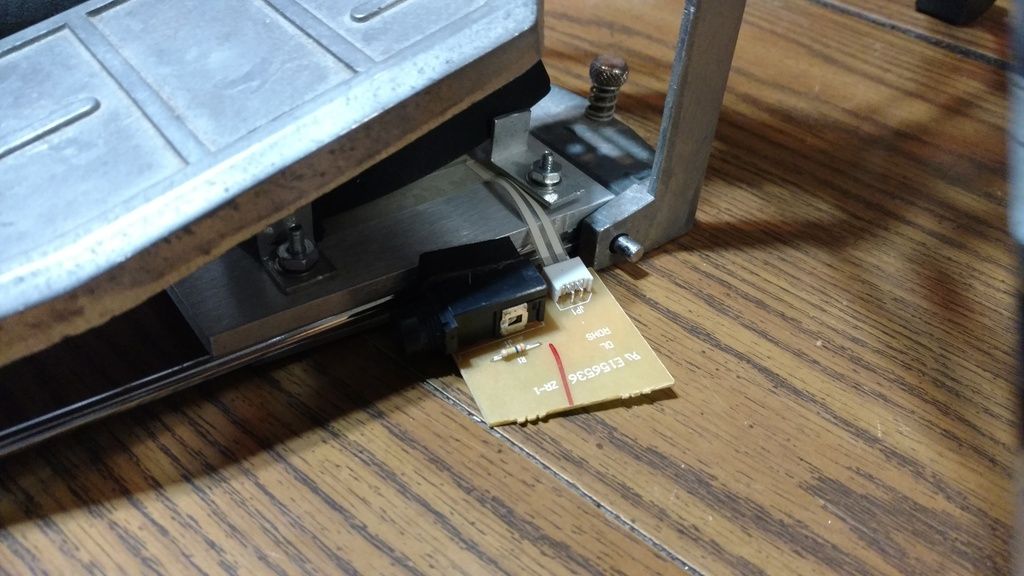
I then realized I could attach the circuit board to the high hat stand using super strong, double sided foam tape.
 Hihat stand:
For the hihat portion, I started with a 5" pvc cap, This one happened to be black, and doesn't have the dome like the white ones do, Home depot didn't have any white ones in that size, as it turns out, this worked fine in the end, but you can use whatever you'd like. I measured the diameter of the cap, divided it in half to find the radius and using my calipers in three points around the perimeter, scribed three short radiuses. The intersection of these radii is the center of the cap. (You could make a quick and dirty scriber for this by hammering two nails the distance of the radius + 1/2 the diameter of one nail apart through a piece of wood. Hook one nail on the OD of the cap, and use it as a pivot point to scribe a line with the other nail.
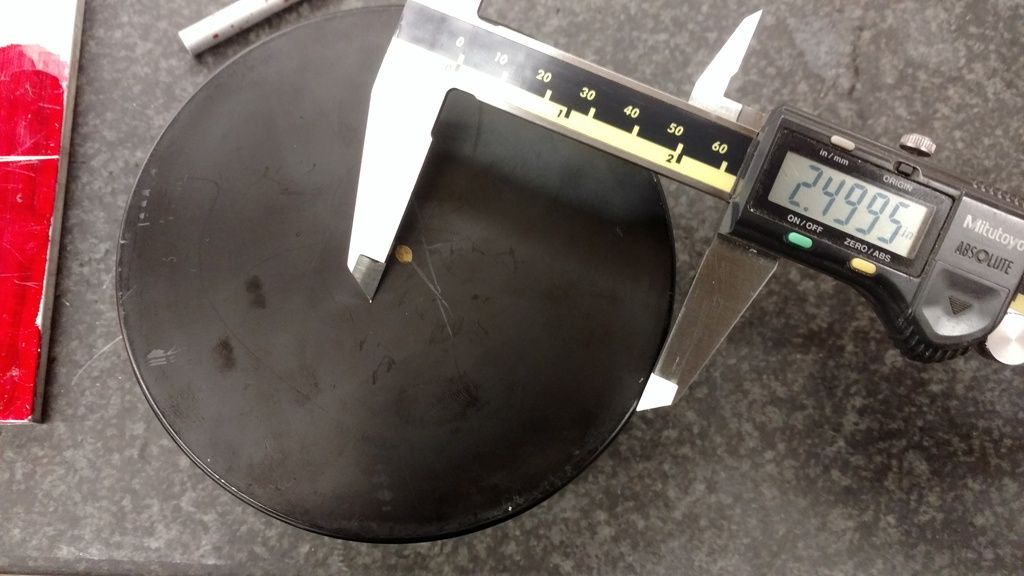
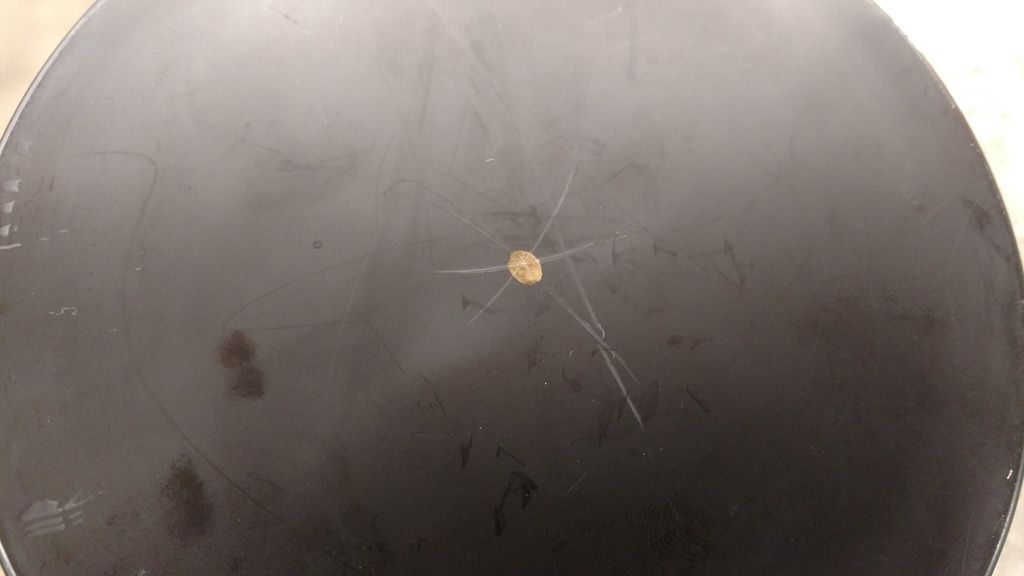
I drilled a 1/2" hole in the center of the cap and chamfered the inside heavily until the hole cross section had about the same thickness as a cymbal.
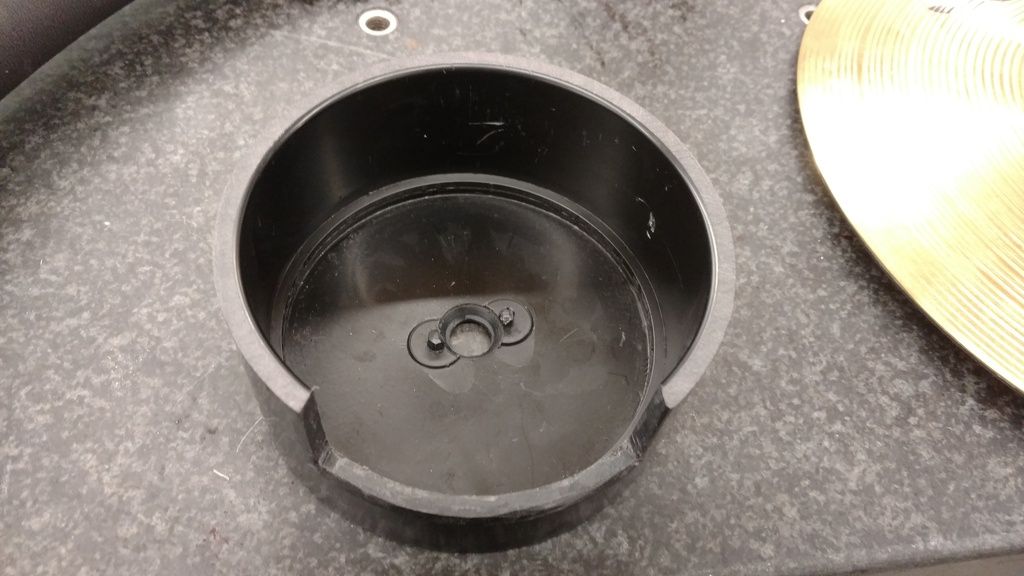
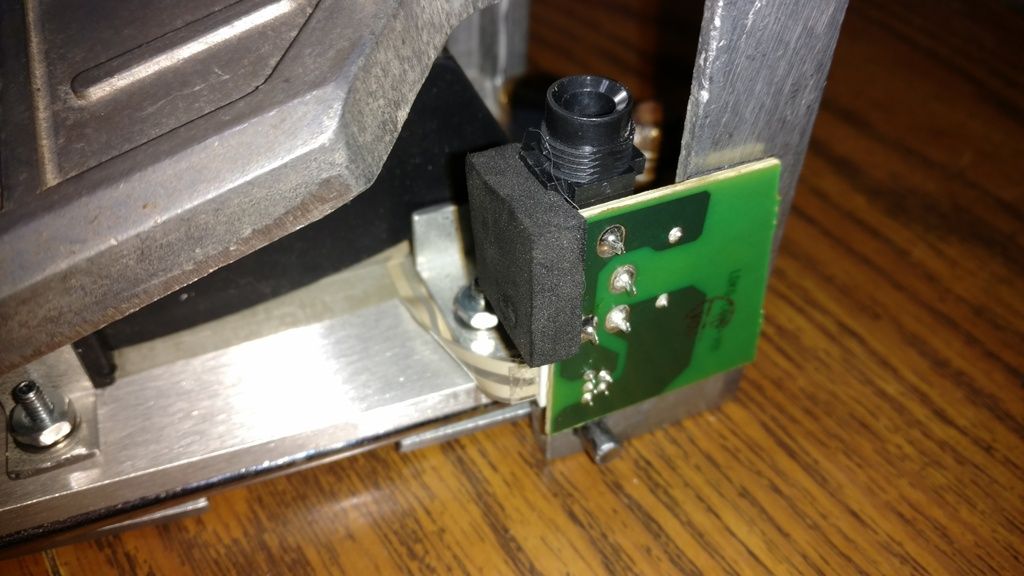
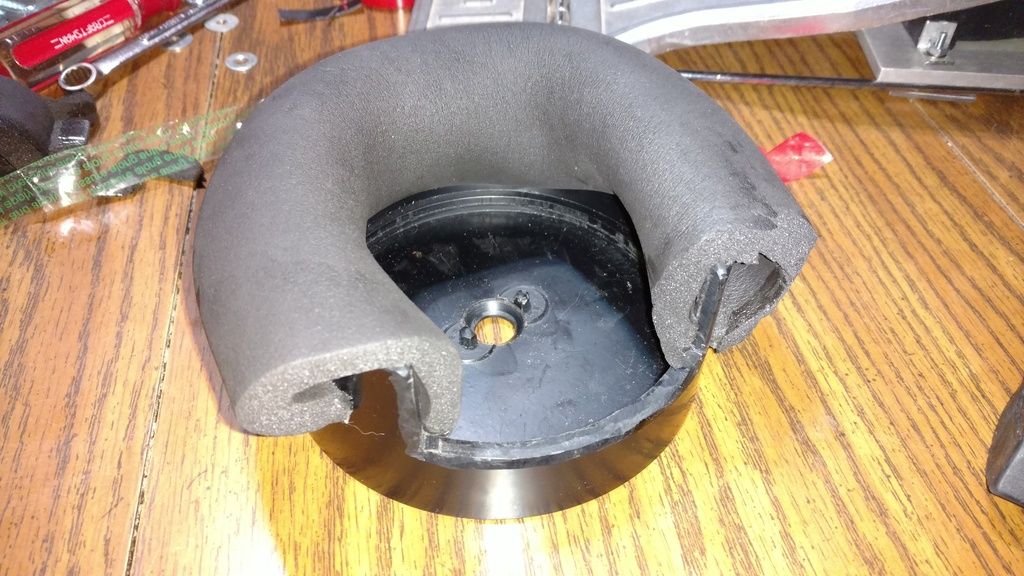
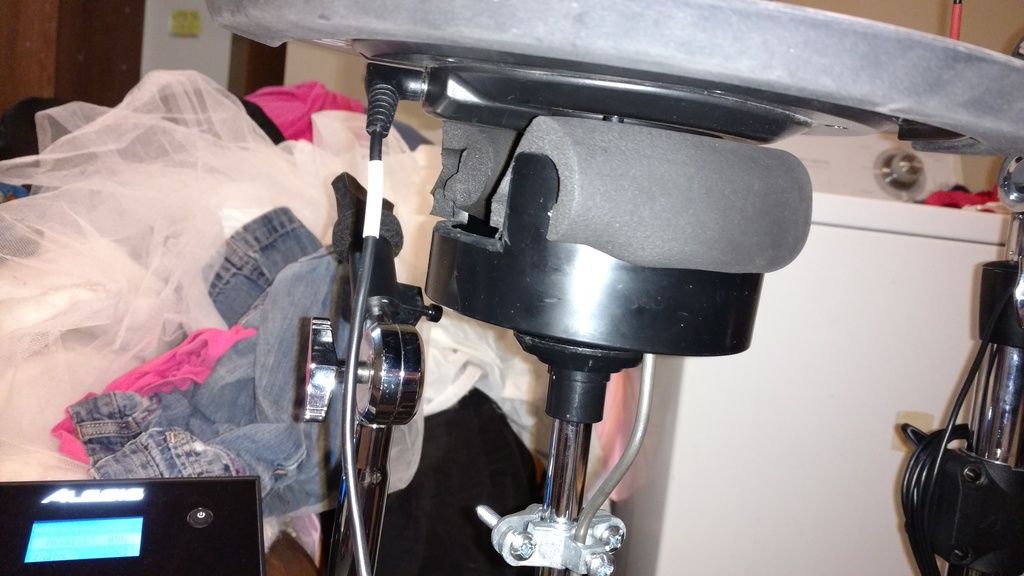
I cut out a section in the cap to clear the hihat trigger box, I sized it so I could use this for both a Surge hihat, or a DM pad hihat.
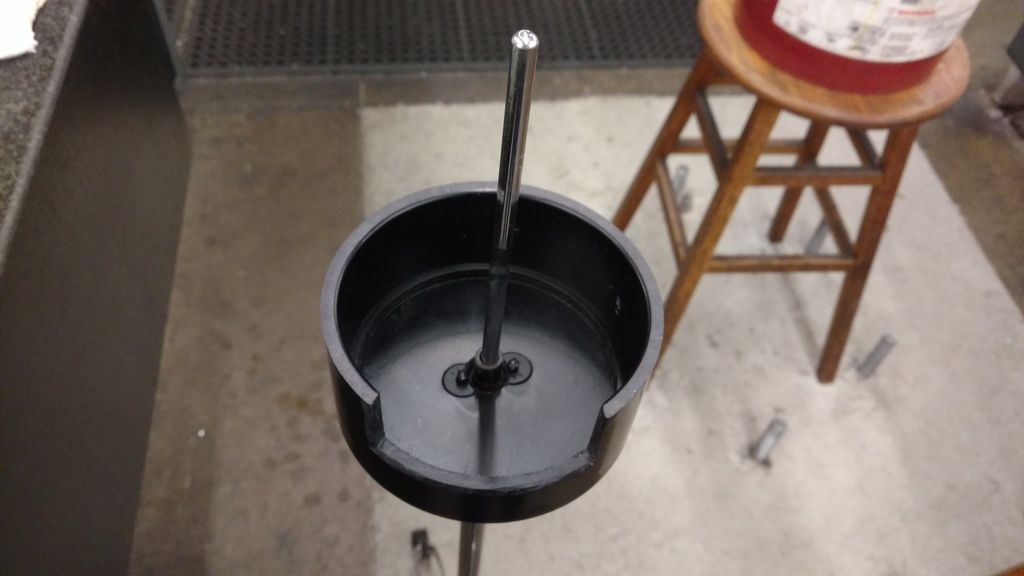
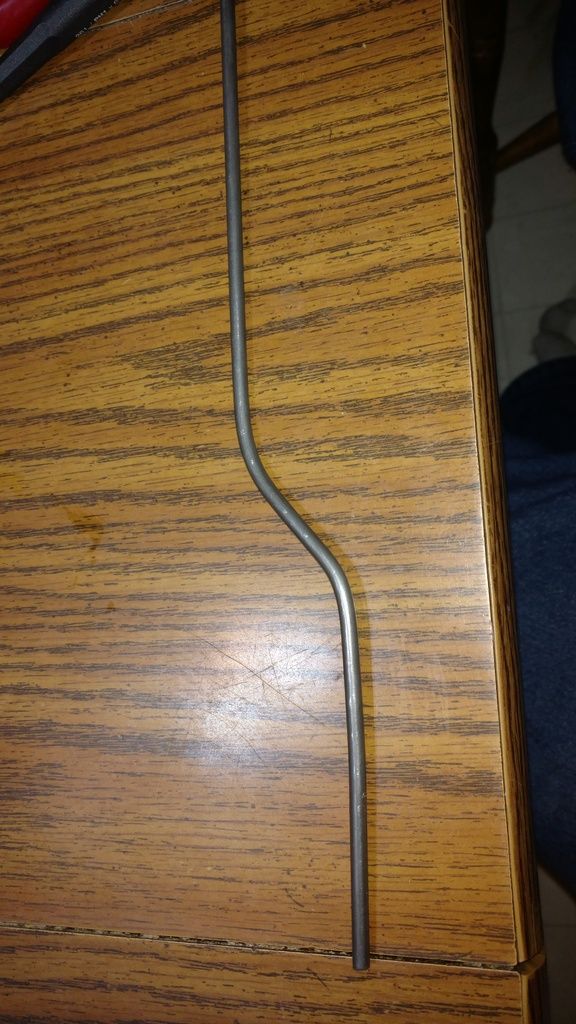
Because I don't want the cap to spin and hit a trigger box or impede motion, I devised an anti-spin method similar to what is used in the surge cymbals. I bent a 3/16 steel rod so it would clear the high hat stand's bottom hihat cymbal pad.
I then attached the rod to the stand using a pipe grounding clamp.
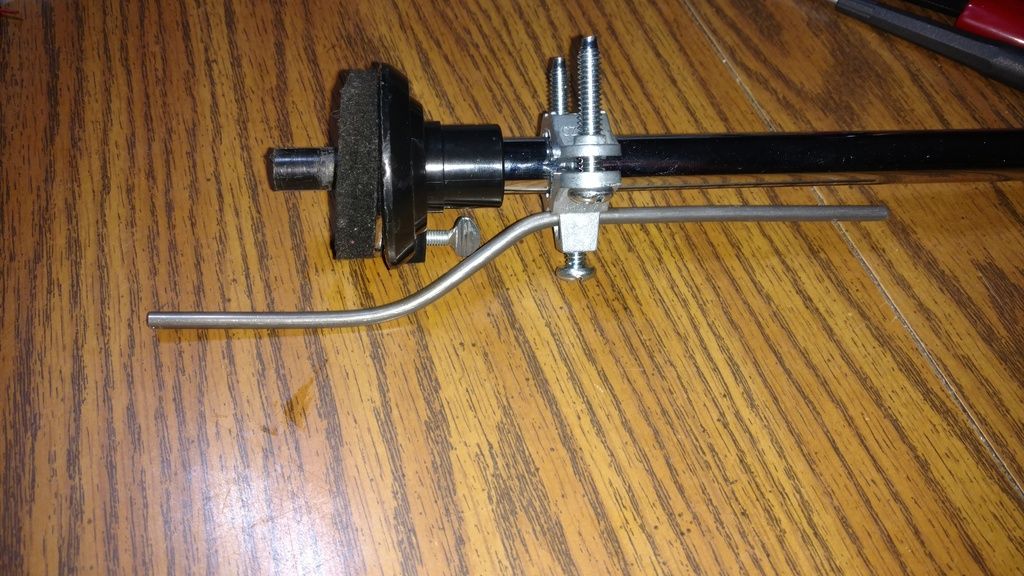
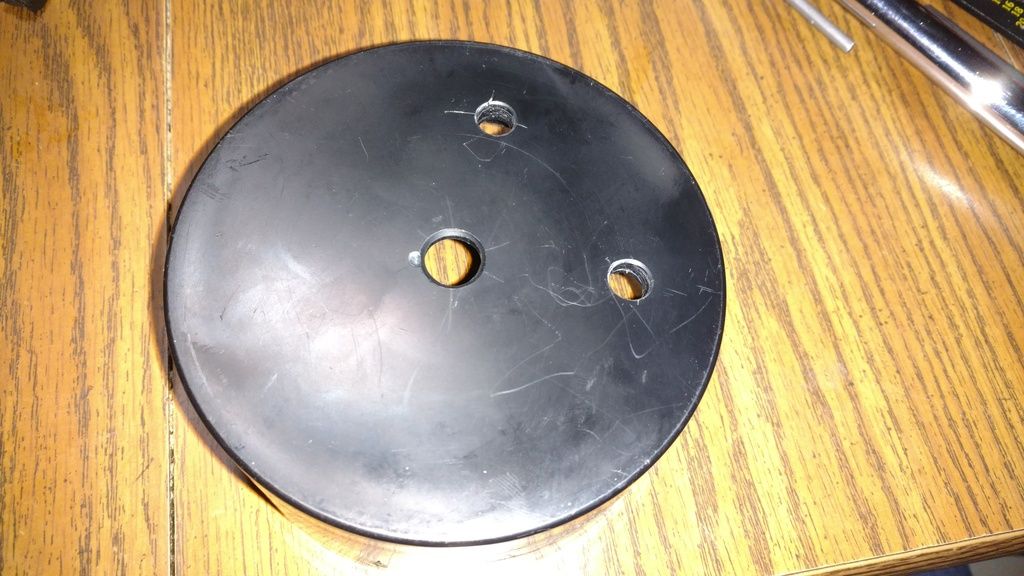
After measuring the distance from the center of the stand to the center of the rod, I drilled two 3/8" holes in the cap. One location is in front of the trigger box cut out, the other is 90 degrees to the left (if looking down inside the cap) for the DM pad hihat. THis way I don't need to move the clamp/rod should I switch between the two styles of hihat.
Lastly, because I don't want any false triggering when the hihat is closed, I line the edge of the cap with 1/2" rubber foam pipe insulation, it's self adhesive. I'm not sure if this is necessary, but I didn't try it without, and it feels pretty close to real for me. I could potentially miter the pipe insulation, and glue end pieced on to make it look nice, but that may impede on trigger box clearance, and because It's largely hidden from sight, I'm not too concerned with it.
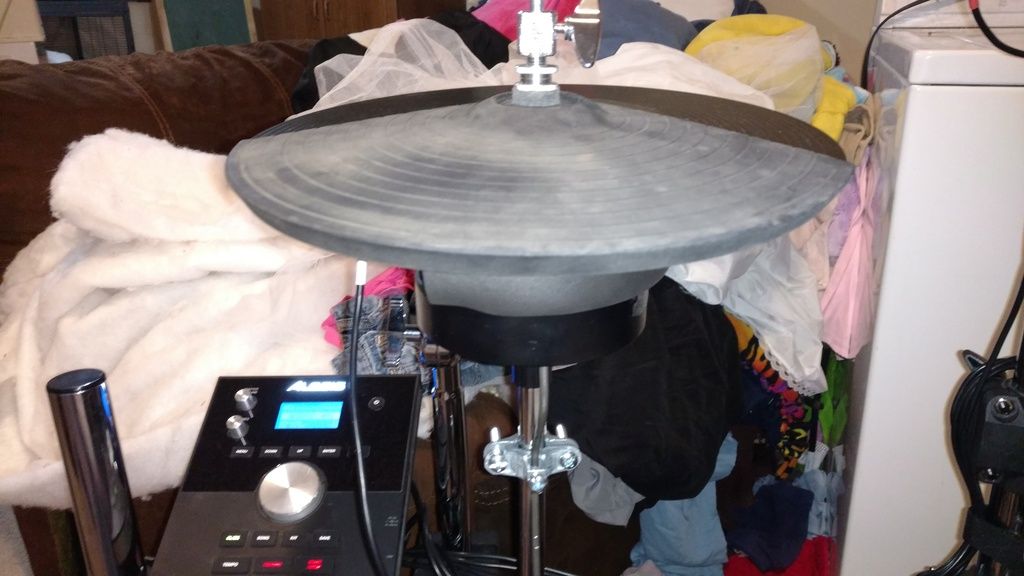
Here's the finished product with a DM pad on top (excuse the laundry, we just replaced a malfunctioning washing machine and are playing catch up).
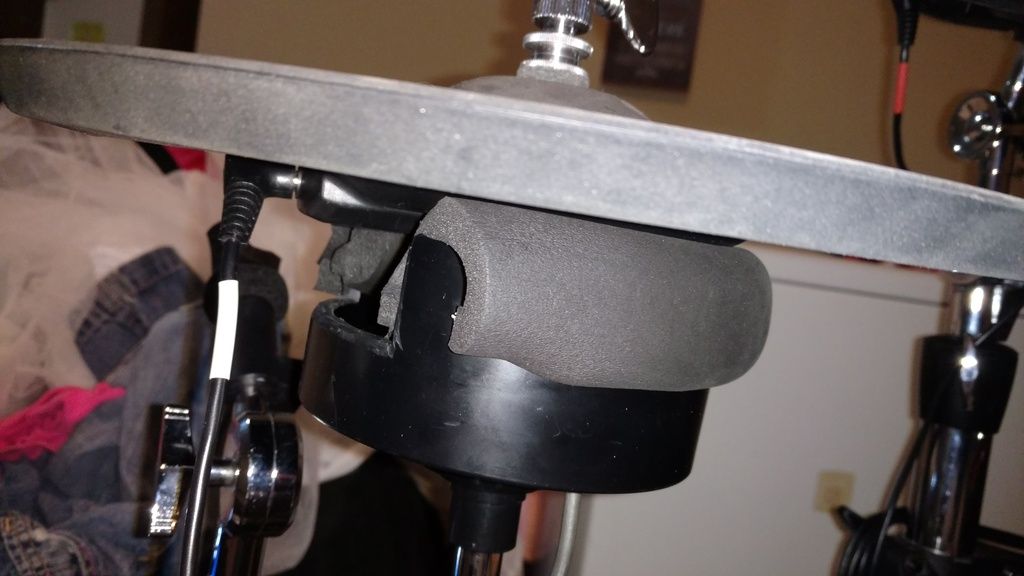
Open.
Half open.
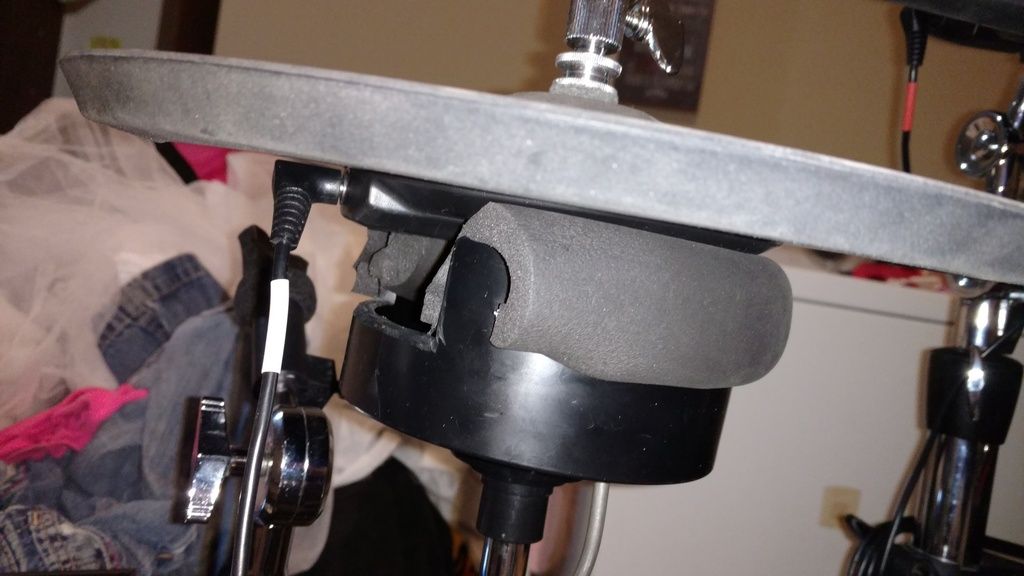
And closed.
It has been working great on my Crimson kit, once I get my DM10 kit set up again, I'll be trying it out on that.
